This post and the photos within it may contain affiliate links. If you make a purchase through one or more of the links, I may receive a small commission at no extra cost to you.

Watercolor painting is a mesmerizing art form, but every artist could use a portable and organized palette. In this DIY guide, we’ll explore how to create your own compact watercolor palette using a mini Altoid tin, Sculpey oven-bake clay, and a sticker for personalized decoration.

With a dash of creativity, you’ll transform this humble tin into a functional and stylish watercolor palette, perfect for artists on the go!

Materials You’ll Need:

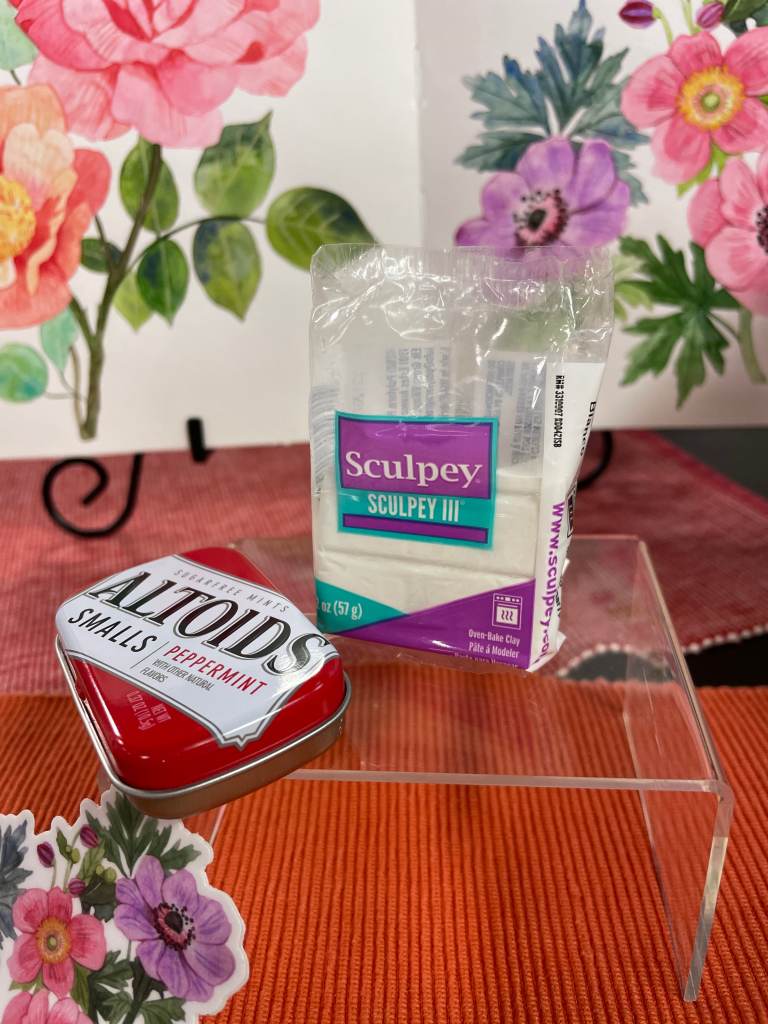
- Mini Altoid tin
- Sculpey oven-bake clay (white)
- Watercolor tubes (Daniel Smith brand) indigo, cadmium red or alizarin crimson, cadmium yellow medium, buff titanium, undersea green
- Winsor and Newton opera rose
- Sticker for customizing the top check back here for my sticker release coming soon!
- Spray paint (for the cover)
- White matte spray paint (for the inside)
- Water brushes I like this affordable set!
- I really like this travel watercolor book too!

Step 1: Prepare Your Altoid Tin
Begin by thoroughly cleaning your mini Altoid tin, removing any remnants of mints or residue, ensuring a pristine starting point for your project.
Step 2: Craft the Clay Compartments
Take your Sculpey clay and knead it until it’s soft and pliable. Push it into the bottom of the tin. I used the side of a Lego block to make a smooth top for mine. Then I used the back of a marker to make the wells in the clay. You could also use the back of a colored pencil for smaller wells!
Step 3: Bake the clay in the tin according to the clay package directions. Be careful after removing from the ice as it will be hot.
Step 4: Spray Paint the Interior and exterior.
For a clean and cohesive look inside the tin, apply a coat of white matte spray paint. Use thin, even coats, allowing each layer to dry thoroughly. You will want matte so the paint doesn’t bead up when using the palette.
Step 5: Embellish the Tin’s Cover
Now, add a personal touch to your palette. Select a sticker or design your own watercolor-themed decoration. Turn the tin over and trace the lid onto the sticker. Trim the sticker slightly smaller than your pencil lines to perfectly fit the tin’s cover, ensuring a smooth and visually appealing finish.

Step 8: Fill with Watercolor Paints
Now, it’s time to add your Daniel Smith watercolor paints to the compartments. Squeeze a small amount of each color into its designated space. You’ll want to allow the paints to dry overnight within the compartments before closing the tin and before painting.

I love using a dark blue, you can add more water to lighten the color and it’s great for shadows.


Crafting your own watercolor palette from a mini Altoid tin is such a fun and practical DIY project! Using Sculpey clay, spray paint, and a personalized decorative touch, you’ll possess a portable palette that easily fits in your pocket or art bag. Your artistic journey is now set to flow wherever inspiration beckons. Happy watercolor painting!

As an Amazon Associate I earn from qualifying purchases.
